Getting started with Humlix
A quick start guide of getting up and running with Humlix
Introduction
Humlix shows you an easy path to testing your web APIs. All you need to do is create a test request using the test request builder within Humlix and give an example of how your endpoints look and what type of data they want. Humlix will automatically generate tests for you, and if something fails, Humlix will try to figure out the smallest repeatable failing test case for you. This quick start guide will show you how to set up Humlix and create your first tests.
Prerequisites
Humlix is available for Windows, Mac OS, and Linux and requires a 64-bit Java runtime environment to run.
If you don’t have Humlix on your machine right now, you can download it from the Humlix web page.
Launch Humlix
Humlix can run as a desktop application on Windows and Mac OS. Just launch the installed Humlix application to get started. On Linux, you can run the following command in your CLI tool:
java -jar humlix.jar
On Linux, a web browser should launch, pointing to http://localhost:3000; otherwise, you can go to that address.
Create your first test
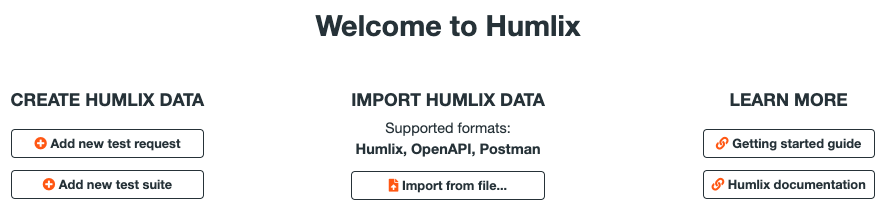
Humlix makes it easy to organize your test requests in different test suites. Create a new test suite by clicking the Add new test suite button on the HOME page.
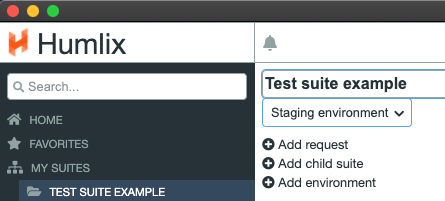
Change the name of your suite to “Example test suite” and then press the Add request link to create a new test request.
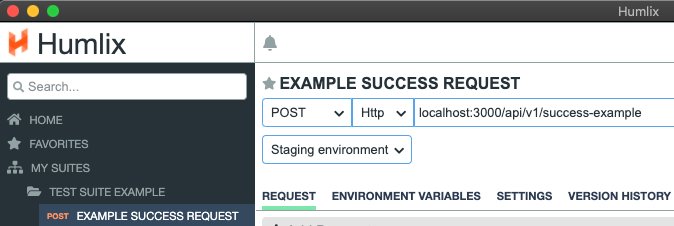
Change the name of your test request to “Example success test request." Select POST and Http in the drop-down menus. In this example, we are going to use a built-in test endpoint in Humlix. Set the URL to localhost:3000/api/v1/success-example
Build your test request
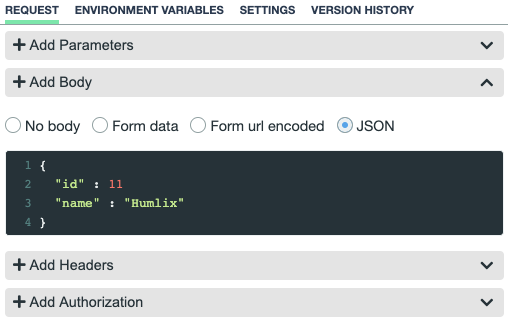
Populate the Request tab with the information needed for your endpoint.
In Add body, you can give an example of the payload. In this example, we use the JSON string {"id": 11 "name": "Humlix"}
Try test example
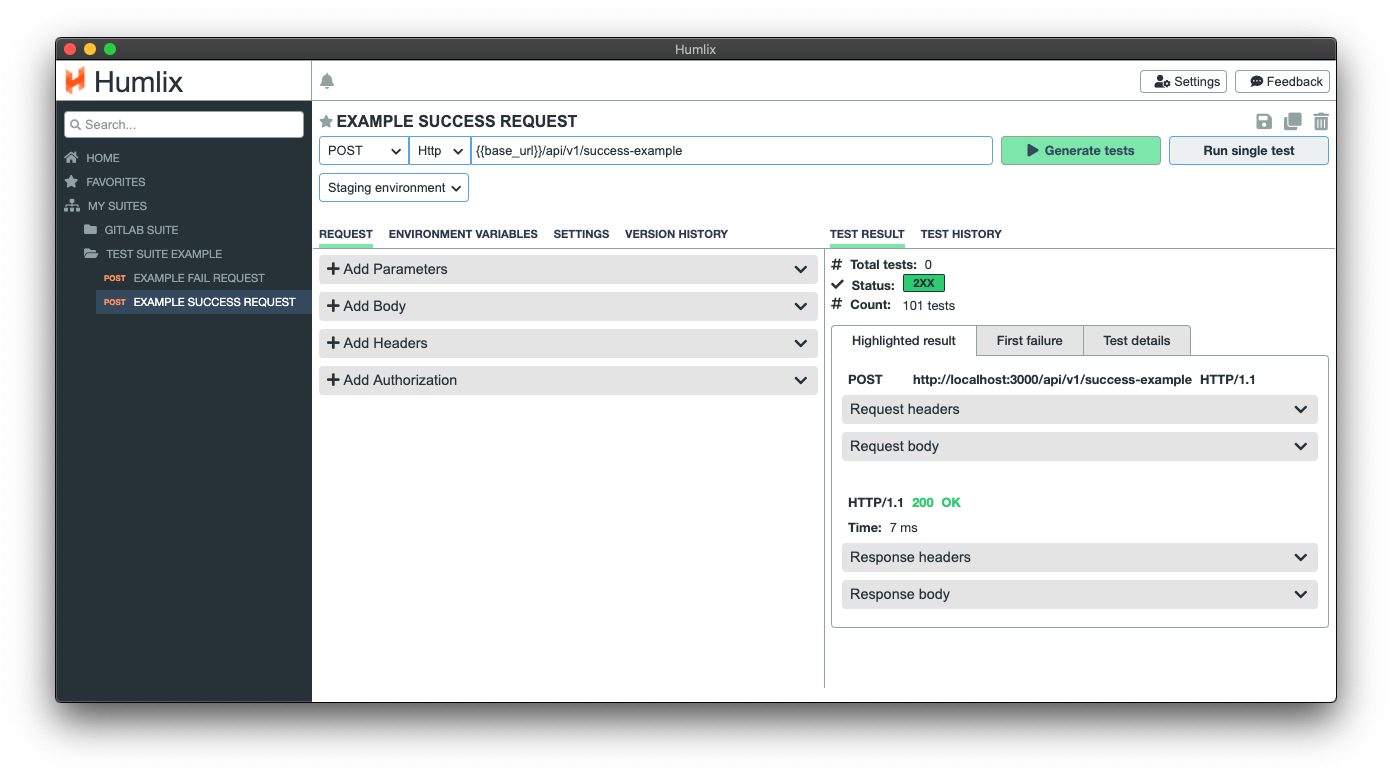
To verify that you have set your test up correctly, you can make a test run using the exact payload that you entered during the build request steps. Press the Run single test button.

Generate tests
The unique feature that Humlix offer is to generate test data given an example. Press the Generate tests button to have Humlix create and execute the tests for you.
Analyze the result
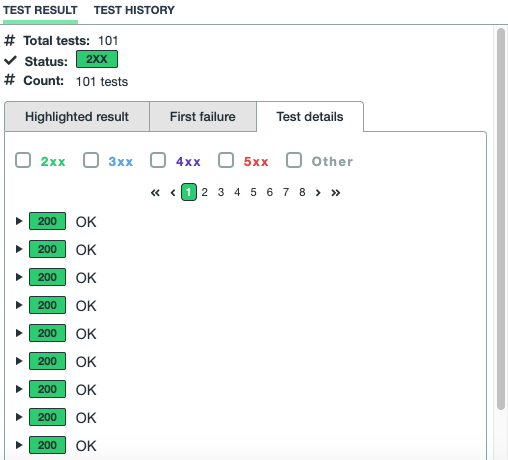
In the above example, Humlix created 101 tests that all executed successfully.

You can look at all the requests that Humlix created by going to the Test details tab.
This quick start guide was an example of how simple it is to let Humlix test your endpoints by generating tons of data. Go to the documentation section to learn more about what Humlix has to offer.